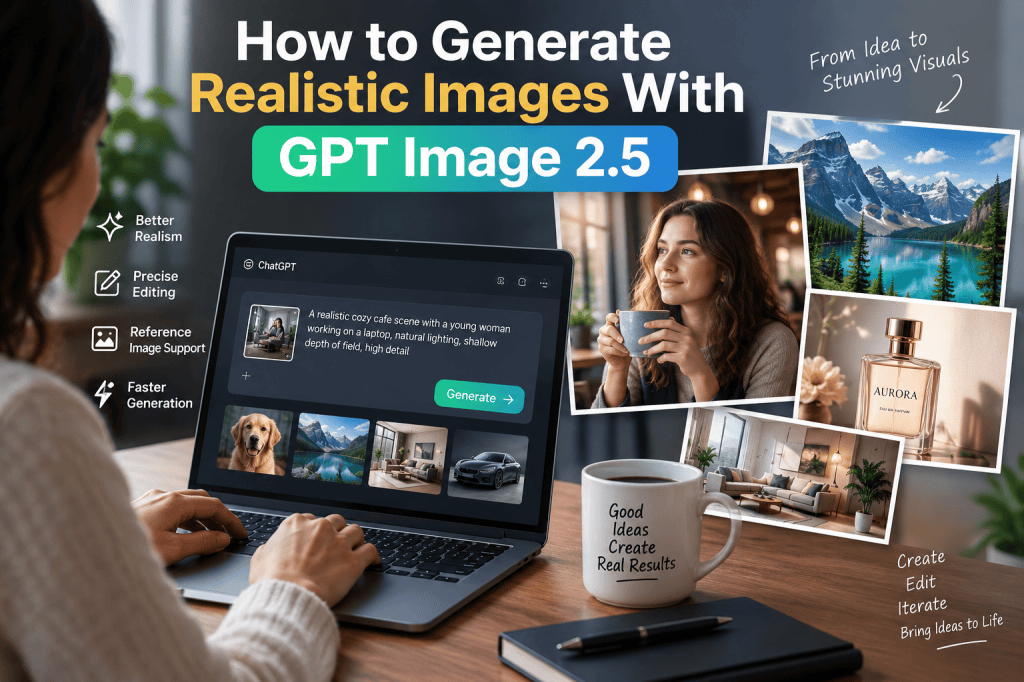
AI image generation has moved beyond creating simple illustrations and artistic concepts. Today, businesses, marketers, creators, designers, and eCommerce brands need images that look convincing, follow detailed instructions, preserve important visual details, and remain consistent when edited.
GPT Image 2.5 is designed for exactly this type of workflow. OpenAI introduced ChatGPT Images 2.5 with improvements in image fidelity, natural lighting, richer textures, precise editing, reference-image preservation, and faster generation. OpenAI says image-generation latency can be up to 50% lower than Images 2.0.
Whether you want to create a photorealistic product image, social media creative, professional portrait, advertising visual, lifestyle scene, or branded campaign asset, the quality of your result depends heavily on how you describe the image.
In this guide, you’ll learn how to generate realistic images with GPT Image 2.5, how to write better prompts, how to use reference images, how to improve lighting and composition, and how to edit generated images without starting from scratch.
What Is GPT Image 2.5?
GPT Image 2.5 is OpenAI’s latest generation of image-generation technology available through ChatGPT Images 2.5 and the API. It can create images from text instructions and work with image inputs for editing and reference-based generation. OpenAI’s API currently provides two GPT-Image-2.5 models: GPT-Image-2.5 Flare and GPT-Image-2.5 Sunburst.
The biggest improvements are not limited to visual quality. GPT Image 2.5 is designed to better understand complex instructions and maintain important details throughout multiple editing rounds.
OpenAI highlights improvements in:
- Image fidelity
- Natural lighting
- Richer textures
- Reference-image preservation
- Precise image editing
- Multi-turn editing consistency
- Complex visual instructions
- Transparent-background generation
- Faster image generation
This makes GPT Image 2.5 particularly useful when you need more than a one-off AI-generated picture.
For example, instead of generating a product image once and accepting the result, you can ask it to change the background, adjust lighting, modify the composition, or update a specific element while preserving the rest of the image.
Why Does GPT Image 2.5 Create More Realistic Images?
Realism isn’t simply about adding the word “photorealistic” to a prompt.
A realistic AI image depends on several visual components working together: lighting, materials, perspective, camera characteristics, composition, textures, shadows, depth, and subject details.
GPT Image 2.5 has improved its ability to interpret these types of instructions. OpenAI specifically notes improvements in natural lighting, richer textures, recognizable reference subjects, and instruction following.
For example, compare these two prompts:
Basic prompt:
A woman drinking coffee in a cafe.
Detailed prompt:
Create a photorealistic editorial photograph of a young woman sitting beside a large cafe window, holding a ceramic coffee cup with both hands. Use soft morning sunlight entering from the left, subtle natural shadows across the table, realistic skin texture, slightly messy hair, shallow depth of field, warm neutral interior colors, and a 50mm photography perspective. The image should feel like an authentic lifestyle photograph rather than a digitally rendered scene.
The second prompt gives the model considerably more information about how the final image should look.
How to Generate Realistic Images With GPT Image 2.5
Creating realistic images with GPT Image 2.5 is relatively straightforward. The real challenge is developing a prompt that communicates your visual idea clearly.
Here is a practical workflow.
1. Start With the Main Subject
First, tell GPT Image 2.5 exactly what you want to see.
The subject could be:
- A person
- A product
- A building
- A food item
- A vehicle
- A landscape
- A fashion outfit
- A room
- An advertisement
- A social media scene
Avoid beginning with vague descriptions.
Instead of:
Create a product image.
Try:
Create a premium studio photograph of a matte-black wireless headphone placed on a small stone pedestal.
This establishes the central subject immediately.
2. Describe the Environment
After defining the subject, explain where the subject is located.
The environment strongly influences realism.
For example:
A matte-black wireless headphone placed on a stone pedestal inside a minimalist modern studio.
You can then add environmental details:
The studio has a warm beige background, subtle architectural shadows, a polished concrete floor, and soft natural light coming from a large window on the right.
These details help establish depth and context.
3. Add Realistic Lighting
Lighting is one of the most important elements in a realistic AI image.
Instead of simply writing “good lighting,” describe the actual lighting setup.
Useful LSI keywords and prompt terms include:
- Natural lighting
- Soft daylight
- Golden-hour lighting
- Studio lighting
- Diffused light
- Cinematic lighting
- Soft shadows
- Directional light
- Window light
- Ambient lighting
- Rim lighting
- Subtle highlights
- Realistic reflections
For example:
Use soft afternoon window light from the right side, producing gentle shadows underneath the product and subtle highlights along its edges.
This is much more useful than:
Make it realistic.
4. Specify the Camera Style
Camera language can help communicate the visual characteristics you want.
You can mention:
- 35mm photography
- 50mm lens
- 85mm portrait lens
- Shallow depth of field
- Deep depth of field
- Macro photography
- Editorial photography
- Product photography
- Documentary photography
- Street photography
- Studio photography
For example:
Photograph the subject with an 85mm portrait lens, shallow depth of field, natural bokeh, and realistic facial details.
Or for a product:
Use a commercial product photography style with a 50mm lens perspective, controlled depth of field, sharp product edges, and realistic reflections.
Don’t add camera terminology randomly. Choose details that match the type of image you’re creating.
5. Describe Materials and Textures
One reason AI-generated images can look artificial is that surfaces sometimes lack convincing texture.
When creating realistic images, describe materials specifically.
For example:
A handcrafted leather handbag with visible grain texture, slightly uneven natural leather surface, subtle stitching, realistic metal hardware, and soft reflections.
Instead of:
A realistic leather bag.
Specific material descriptions give GPT Image 2.5 more visual information.
Useful realism-related LSI keywords include:
photorealistic image, realistic textures, natural skin texture, detailed materials, realistic reflections, subtle imperfections, natural shadows, lifelike details, realistic depth, authentic photography, high-detail rendering, realistic surfaces, natural color grading, professional photography.
6. Add Natural Imperfections
Perfectly symmetrical objects and flawless environments can sometimes make an AI image feel artificial.
Real photographs contain small imperfections.
You can request details such as:
Keep the scene naturally imperfect, including subtle fabric wrinkles, minor variations in hair strands, realistic skin texture, slight reflections, and naturally positioned objects.
For product photography, don’t overdo imperfections. A premium commercial image should still look polished.
The goal is controlled realism, not randomness.
7. Use Reference Images With GPT Image 2.5
One of the most useful features of GPT Image 2.5 is its ability to work with reference images.
OpenAI says Images 2.5 is better at preserving recognizable subjects from reference photos while changing settings, visual styles, and compositions.
This is particularly useful for:
- Product photography
- Brand creatives
- Character consistency
- Personal portraits
- Fashion campaigns
- Social media content
- eCommerce images
For example, upload a product photo and ask:
Use the uploaded product as the exact visual reference. Place it on a premium marble countertop in a modern kitchen. Preserve the product’s shape, proportions, color, label placement, and visible design details. Change only the environment and lighting.
This approach can produce more useful results than asking the model to recreate the product entirely from text.
8. Use Specific Editing Instructions
One of the major advantages of GPT Image 2.5 is more precise editing.
Instead of regenerating an entire image, you can describe exactly what should change.
For example:
Keep the person, clothing, pose, camera angle, lighting, and background unchanged. Replace only the coffee cup with a transparent glass tumbler.
Or:
Keep the product and composition exactly the same. Change only the background from white to a warm beige studio backdrop.
OpenAI specifically highlights improved ability to make focused edits while preserving other elements of an image.
This is extremely useful for marketing teams because a single visual can be refined through several iterations.
9. Take Advantage of Multi-Turn Editing
You don’t always need to write a perfect prompt on your first attempt.
One of the strongest workflows with GPT Image 2.5 is iterative editing.
You can start with:
Create a realistic lifestyle photograph of a skincare product on a bathroom counter.
Then refine it:
Make the lighting softer and more natural.
Then:
Keep everything else unchanged and add subtle morning sunlight from the left.
Then:
Keep the composition unchanged but make the product label easier to read.
GPT Image 2.5 is designed to maintain consistency across multiple edits, allowing you to build toward a final image instead of regenerating everything repeatedly.
10. Use Sketches to Control Composition
ChatGPT Images 2.5 also introduces Sketch, which allows users to draw directly in ChatGPT and use that drawing as a reference for the final image.
This can be useful when you know where objects should appear but don’t know how to describe the composition.
For example, you could sketch:
- Product on the left
- Person on the right
- Headline area at the top
- Background object in the center
Then explain:
Turn this rough sketch into a realistic commercial advertisement while maintaining the general composition.
This can make visual ideation easier for marketers and designers.
Best GPT Image 2.5 Prompt Formula
A useful formula for creating realistic images is:
Subject + Environment + Composition + Lighting + Camera + Materials + Style + Details
For example:
Create a photorealistic product photograph of a premium white skincare bottle standing on a beige stone surface in a minimalist luxury bathroom. Position the bottle slightly off-center using a clean editorial composition. Use soft morning window light from the left, realistic shadows, subtle reflections, and natural ambient lighting. Use a 50mm photography perspective with moderate depth of field. Preserve realistic glass, plastic, and stone textures. Add subtle imperfections and natural color grading. The final image should look like a professionally photographed skincare campaign rather than a 3D render.
This structure gives GPT Image 2.5 enough information to understand both the content and the visual treatment.
GPT Image 2.5 Prompts for Realistic Images
Realistic Product Photography Prompt
Create a high-end photorealistic product photograph of a luxury perfume bottle on a polished stone surface. Use soft studio lighting, subtle reflections, realistic glass texture, natural shadows, shallow depth of field, premium editorial composition, and neutral beige tones. Make the image look like a professional fragrance campaign photographed with a high-end camera.
Realistic Portrait Prompt
Create a natural-looking professional portrait of a 30-year-old person standing beside a large window. Use soft daylight, realistic skin texture, natural hair strands, subtle facial imperfections, authentic expression, shallow depth of field, and an 85mm portrait photography aesthetic. Avoid an overly smooth or artificial appearance.
Realistic Food Photography Prompt
Create a photorealistic restaurant-quality photograph of a bowl of creamy pasta on a ceramic plate. Show realistic food textures, subtle steam, natural sauce reflections, small imperfections in the ingredients, warm restaurant lighting, shallow depth of field, and an editorial food photography composition.
How to Avoid the “AI Look”
Even powerful image models can produce images that feel synthetic if the prompt is too generic.
To create more authentic visuals, ask for:
Natural skin texture:
Avoid excessive smoothing.
Subtle imperfections:
Real objects rarely look perfectly symmetrical.
Natural lighting:
Use specific light sources instead of generic “cinematic lighting.”
Realistic shadows:
Shadows should correspond to the lighting direction.
Material-specific textures:
Describe leather, glass, metal, wood, fabric, or skin separately.
Natural composition:
Avoid placing everything perfectly in the center unless that’s intentional.
Real-world photography references:
Describe the image as editorial, documentary, lifestyle, commercial, or studio photography when appropriate.
GPT Image 2.5 for Marketing and Advertising
Realistic AI images can be particularly useful for digital marketing.
Brands can use GPT Image 2.5 to develop:
- Social media advertisements
- Product campaign visuals
- Website hero images
- eCommerce photography concepts
- Lifestyle product images
- Promotional banners
- Email marketing graphics
- Blog images
- Presentation visuals
- Creative concepts
GPT Image 2.5’s ability to make targeted edits can also make campaign iteration easier. For example, a marketer could maintain the same product composition while changing backgrounds for different campaigns.
OpenAI says GPT-Image-2.5 Flare is designed for everyday high-quality image generation and applications such as creator content, social content, product experiences, visual search, rapid prototyping, and high-volume generation. Sunburst is aimed at workflows where tighter editing precision matters.
GPT Image 2.5 for eCommerce
eCommerce brands can use AI-generated product visuals to expand their creative libraries without photographing every possible scenario.
For example, one product photo can become:
- A studio product image
- A lifestyle scene
- A seasonal campaign
- A social media advertisement
- A website banner
- A promotional creative
- A product-in-use image
The important part is maintaining the product’s recognizable characteristics.
A useful prompt would be:
Use the uploaded product image as the primary reference. Preserve its exact shape, proportions, colors, branding, and key design details. Place it naturally on a modern wooden desk inside a bright home office. Add soft afternoon window light, realistic contact shadows, natural reflections, and shallow depth of field. The final image should look like authentic commercial product photography.
Flare vs. Sunburst: Which GPT Image 2.5 Model Should You Use?
For developers using the API, OpenAI currently provides two GPT-Image-2.5 variants.
GPT-Image-2.5 Flare is positioned as the faster option for high-quality everyday image generation. OpenAI describes it as the default choice for most applications and says it provides higher-quality images than GPT-Image-2 with substantially lower latency.
GPT-Image-2.5 Sunburst is designed for image generation and editing workflows where greater precision is important, including polished creative and production-oriented imagery.
Therefore, the practical choice depends on the workflow. Use a faster model when you need to explore many ideas quickly, and consider the precision-oriented model when detailed editing and production quality are more important.
Common Mistakes When Using GPT Image 2.5
Writing Extremely Generic Prompts
“Create a realistic woman” gives the model little information.
Instead, describe the subject, setting, lighting, camera perspective, and visual style.
Adding Too Many Contradictory Instructions
A prompt that simultaneously asks for cinematic lighting, harsh sunlight, dark shadows, soft pastel colors, and bright white exposure can create conflicting visual directions.
Keep your instructions coherent.
Ignoring Composition
Tell the model where important elements should appear.
For example:
Place the product in the lower-right third of the frame with empty space on the left for advertising copy.
Regenerating Instead of Editing
If most of the image is already correct, don’t necessarily start over.
Tell GPT Image 2.5 what to change and what to preserve.
Expecting “Photorealistic” to Do Everything
The word “photorealistic” is useful, but it isn’t a complete prompt.
Realism comes from combining realistic lighting, materials, perspective, shadows, textures, and composition.
Final GPT Image 2.5 Realism Checklist
Before generating your image, check whether your prompt includes:
- Subject: What should appear?
- Environment: Where is it?
- Composition: Where should objects be positioned?
- Lighting: What is the light source?
- Camera: What photography perspective do you want?
- Materials: What should surfaces look like?
- Textures: What details should be visible?
- Style: Commercial, editorial, lifestyle, documentary, etc.
- Mood: Warm, dramatic, minimal, energetic, luxurious, etc.
- Editing instructions: What should remain unchanged?
- Reference image: Is there an existing image that should guide the result?
The more clearly these elements work together, the easier it is to produce a convincing result.
Conclusion
GPT Image 2.5 makes realistic AI image generation more practical by combining improved image fidelity with more precise editing and stronger consistency across multiple iterations. OpenAI says the model improves natural lighting, textures, reference-image preservation, and instruction following, while also reducing generation latency compared with the previous generation.
The secret to getting realistic results isn’t simply asking for a “photorealistic image.” Instead, build prompts around the subject, environment, lighting, camera perspective, materials, composition, and realistic imperfections.
For the best workflow, start with a clear visual concept, generate the first version, inspect what needs improvement, and then make targeted edits. With reference images and multi-turn editing, GPT Image 2.5 can be used as an iterative creative tool rather than simply a one-click AI image generator.
Whether you’re creating product photography, realistic portraits, advertising creatives, social media content, or eCommerce visuals, a structured prompt and an iterative editing process can help you get much closer to the realistic image you actually want.


Leave a comment